Appendix 1
Extra Mina Loreto photos
Whilst the best pictures of the line have been used in the two previous pages, a number of other photos may be of interest.
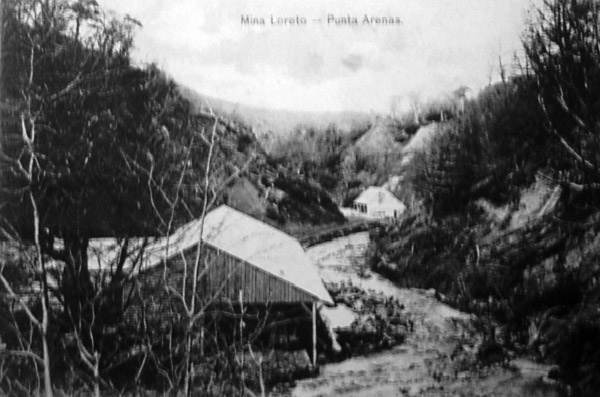
1
Looking down into the valley with, I believe, Mine 2 below at the head of the line, and the track winding its way down on the left bank of the river into the distance.
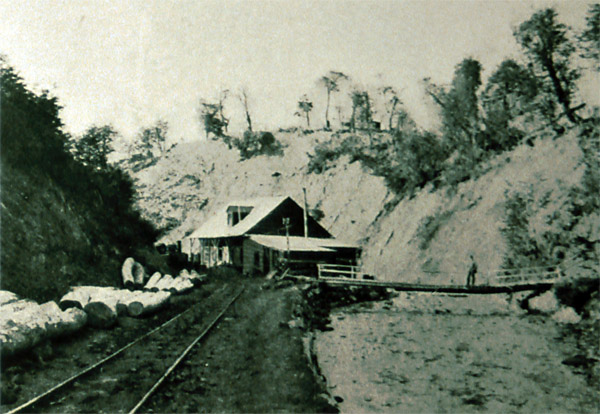
2
The building in the distance in the photo above was the school provided for the miners' children. This picture shows it much more clearly.
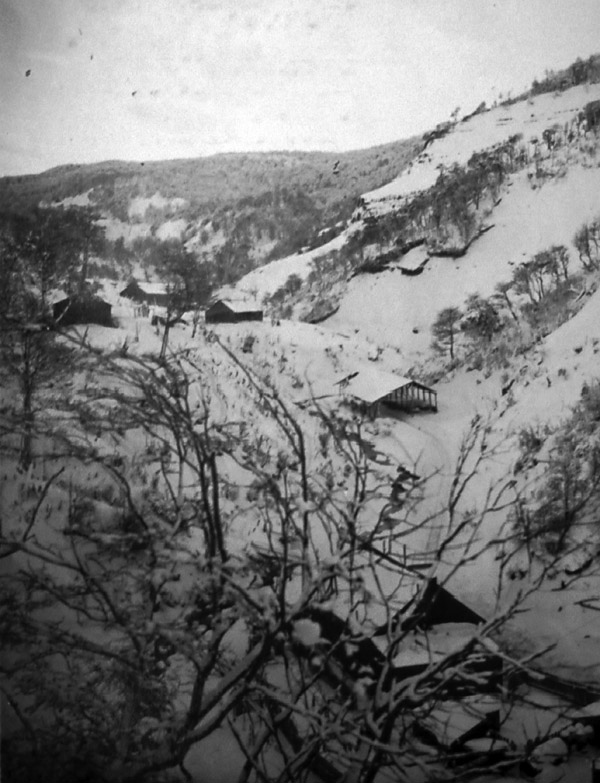
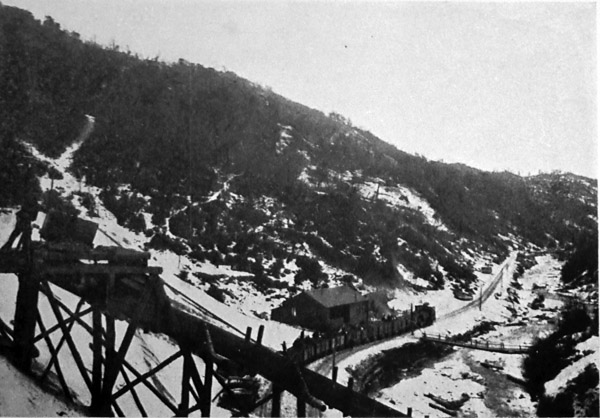
3
A snowy shot looking in the opposite direction. The track is just visible in the snow as it runs the short distance up to the single building at Mine 2. At an upper level, left, are some of the mine workers' houses. The school again shows up, this time at the foot of the photo.
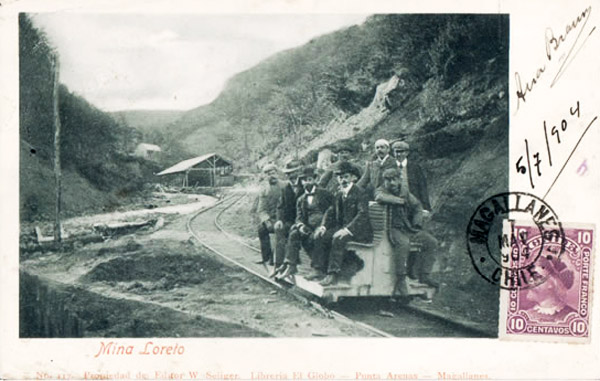
4
A postcard, as displayed in the 'Chile Collector' postcard website at http://www.chilecollector.com/archWEB0/POSTALESCHILE.html The group of men appear to be sitting on a small four-wheeled inspection car or 'zorra'. However, there are no signs of any brakes or means of getting the car back up the hill once is has coasted down.
5
A poor quality shot taken from the south side of the valley. If this is at Mine 1 then it must have been taken very early on, before the big coal hopper was built.

6
Another shot in the snow at Mine 1, a train is in the background with a loco at its far end. The ramp like structure in the foreground appears in many shots. It appears to be some sort of shoot for tipping the mine waste into the river. A miner is just visible here manoeuvring some sort of tub or hopper.
7
A tinted version of a picture seen earlier, adapted for use as a postcard. By this date the sloping ramp seen above has been dismantled, though the remains still stick up out of the snow.

8
A group of miners pose for the camera just upstream of the Mine 1 coal hopper. One of the Baldwin 0-4-2Ts is just visible in the right background.

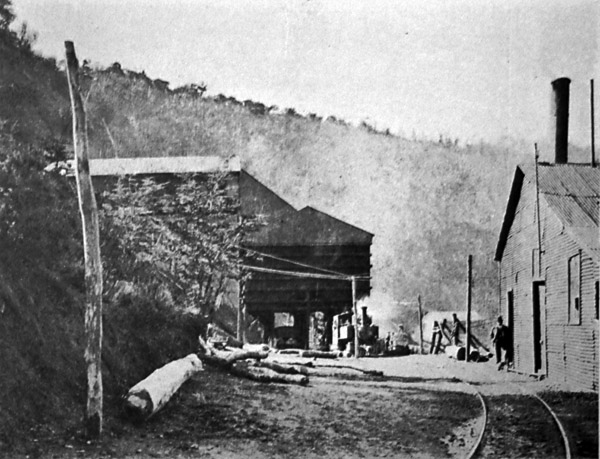
9
A photo taken just a few yards west of the previous one. A Baldwin simmers in the background by a structure which might be a water supply pipe. In the foreground the track leads forward to Mine 2 whilst the building on the right was the mine power station.
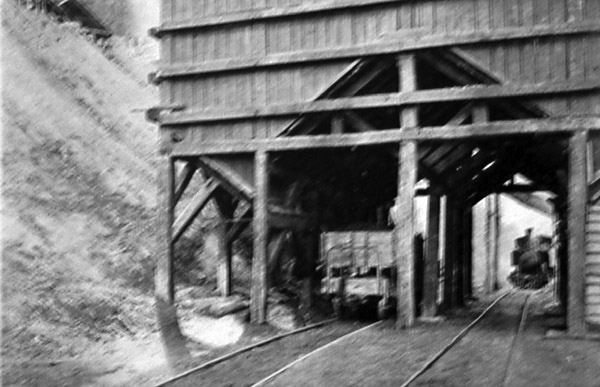
10
A close up view beneath the coal hopper. The hopper doors are visible left above a wagon, whilst another Baldwin waits at the far end of the right hand road.
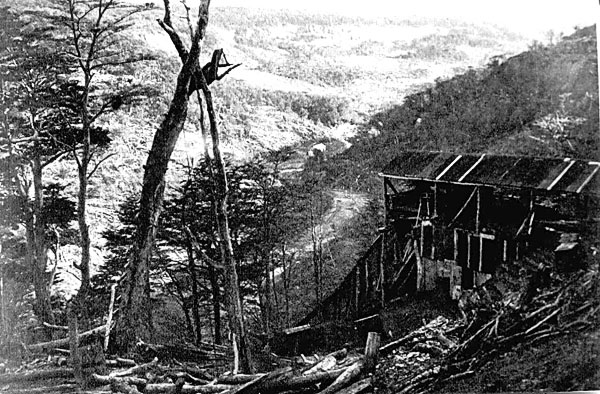
11
This picture was taken from the head of the coal shoot. The S bend in the valley floor can be seen left of the structure.
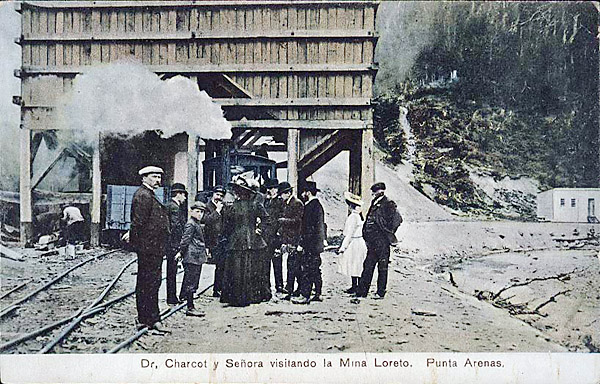
12
Another postcard showing the visit of Dr. and Mrs. Charcot to the railway and mine in 1908.
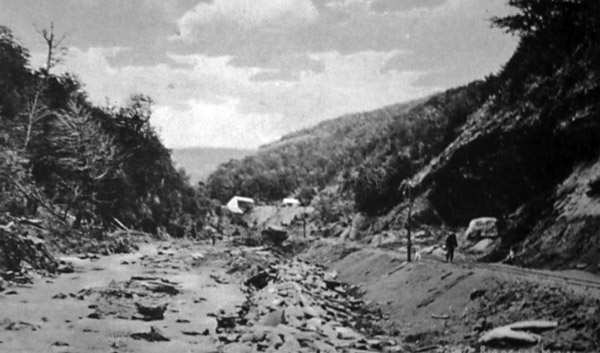
13
A picture taken further down the valley. It is not clear whether this is facing up or downstream. Whilst the line ran mostly on the north (true left) bank, it did cross to the other side for a couple of hundred yards.
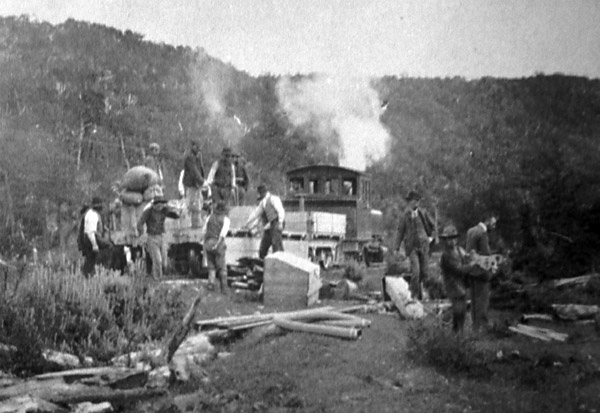
14
One of the smaller Baldwins stops part way along the route to offload materials from a short train of low-sided wagons. Presumably this was a track repair gang arriving on site?
15
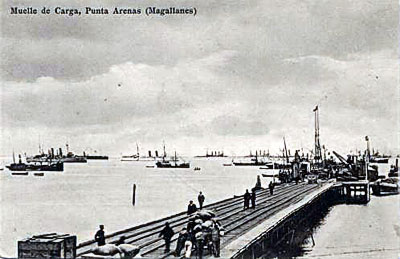
Not the most exciting of postcards, but it does give a clear view of the track heading uphill out of town.

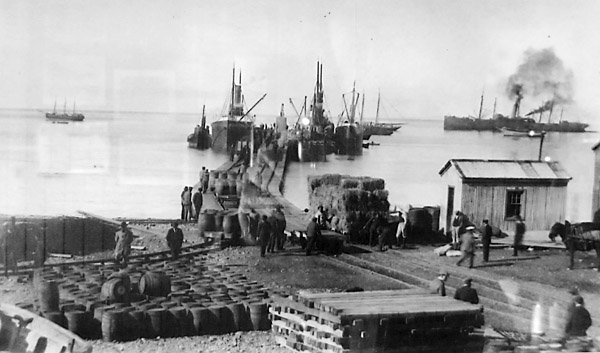
16
A loco with a few wagons at the inner end of the muelle. Presumably the sacks contain coal.

17
This view of a muelle shows two tracks running out from the shore.
18
As does this one.

19
However, this postcard, kindly forwarded by Christopher Walker, seems to show four closely spaced tracks. Whether these contrasting photos show different dates or two separate muelles is, as yet, unclear.

20
Another view from the same point.
28-11-11
|